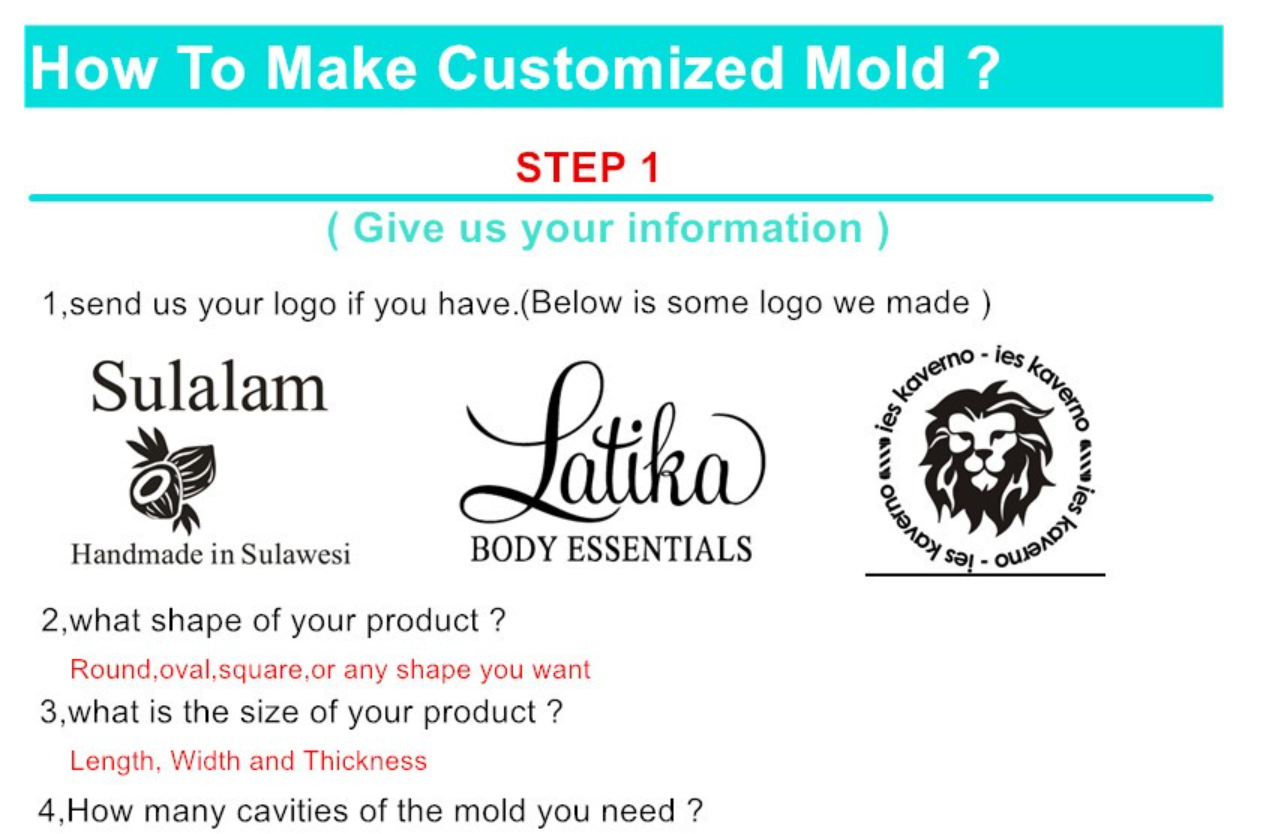
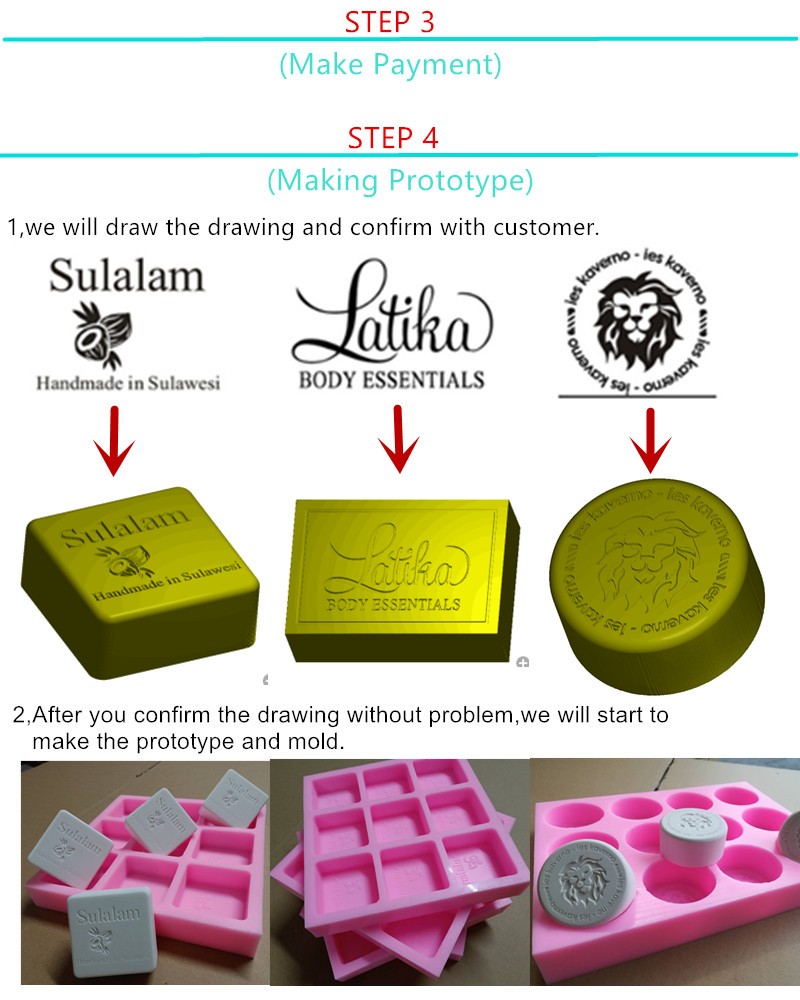
Want to preserve a delicate sculpture? Or maybe you want to make a duplicate of it. Rubber molds are an easy solution to this and an excellent way to learn something unique and new. By using the right supplies and techniques, you can reproduce as many intricate designs as you want. This easy and step-by-step guide will help you make a perfect rubber mold, even if you are a beginner.


Section 1 Collecting the right Mold-Making Supplies
The first part of this guide is about gathering all the stuff you are going to need to make a rubber mold for your object.
Step 1 Find the suitable object for mold.
Start with getting the object for which you want to make a mold. It could be anything like a ball, pinecone, toy, or other relatively small things that you want to duplicate. You do not have to be so detailed about your object because rubber molds have great elasticity; that's why they are capable of getting into very intricate designs. You will need to seal if you decide to choose a porous object, such as anything made out of wood or plaster.
Step 2 Select the right rubber material for mold-making.
A long list of companies in the market deal in rubber for mold-making, but the top ones are Smooth-On and Polytek. These materials often come in a kit with two separate substances mixed together to form the liquid rubber. The standard cost for a rubber mold-making kit is $30. Smooth-On sells a variety of different kits that contain detailed instructions for your assistance.
Step 3 Select a disposable container that will contain the object and liquid rubber.
Find a box or container of some kind to attach your object to and hold the liquid rubber. Consider the size of your object while selecting the container; the object must get fit in the box such that there must be roughly a space of 0.5 inches between the walls of the container and object.
The box doesn't need to have some specific properties; any ice cream or yoghurt box will do the job as long as your object fits in it and you can cut through to take out your mold easily. You can also make a box for rubber mold by yourself. It can be done by cutting foam core to build the sides of the box and connecting them together with the help of hot glue. To take the rubber mold out, you'll have to cut through the container, so pick a box you're ready to discard away.
Section 2 Getting the things ready
Once you have all the necessary materials, now it’s time to organize them a bit before pouring the liquid rubber.
Step 1 Place the object in the container.
Place your object in the box and secure it to the bottom of the box to make sure that the object doesn't move around when the liquid rubber is poured into the box. Using hot glue is an easy and simple way to fix your object in the container.
The object should have a broad base, so you can easily extract the rubber mold out of the box. If your object does not have a wide base, you can make one with a section of wax. Fix the object into the wide segment of wax, and join the wax to the container's base.
If you wish to reuse the object, wrap it with tape or any other material to protect it. Just know that the different adhesives you select may not be as stable as the hot glue.
Step 2 Seal your object and container if necessary.
You should seal your object if it is made up of wood, plaster, stone, unglazed ceramic, concrete, or any other porous material. Sealants such as SuperSeal or Krylon clear acrylic spray can be used to seal the object. Some rubber mold suppliers also sell their sealant so that you don't have to go elsewhere to find the sealant. However, if your object is made of a non-porous substance, such as metal, plastic, or glass, you don't have to seal it.
Step 3 Apply a releasing agent to your object and container.
To quickly get your object out from the freshly formed rubber mold, it beneficial to apply any releasing agent on your object and box. Usually, the releasing agents are available in the form of a spray or liquid, so you must ensure a light and uniform coating over the whole area.
Ease Release, Spray-on, and ReleaSys are some top releasing agents that can be easily purchased from art stores, home improvement stores, or online.
Step 4 Prepare the mixture for your rubber mold.
The rubber mold material generally come in a two-part liquid. There should be clear guidelines with the material on mixing it to prepare the liquid rubber; most of them require a careful mixing of two parts together using a particular ratio. This will form the liquid rubber that you will pour into the box.
Firstly, stir each liquid part separately in their original containers before measuring out how much will be poured together. Stirring is necessary as the ingredients could settle down, which will influence the activation of the rubber. Then thoroughly mix both parts. Most of the time, the two liquid parts will have different colours, making sure that there are not any colour streaks in the final liquid. After you have prepared the liquid rubber, you will have 20 minutes to do the work, so instantly pour the liquid rubber into the box soon after you have mixed it.
Section 3 Creating Your Rubber Mold
This part includes the final and essential steps that mark the formation of a rubber mold for your object.
Step 1 Pour the liquid rubber.
After preparing the liquid rubber by following the instructions given in the previous part, it is time to pour that liquid rubber into the container. Always pour the rubber from above the container in the form of a thin stream; this will help remove the trapped air under or around your object, which can be one of the main concerns while making a rubber mold. To further eliminate the air bubbles, you can coat a thin layer of rubber liquid around your object using a brush or by gently shaking the container once you've poured the liquid rubber in.
Step 2 Cover the object with the liquid rubber entirely.
Continue pouring the liquid rubber into the container until the object is fully submerged in it. To measure the exact amount of rubber you need for your mold, pour water over the secured object in the box until the object is fully submerged and measure that amount of water. Confirm that the box is completely dry before pouring the rubber liquid, and after filling it, there must be a nice coat on the top.
Step 3 Wait for the rubber to set.
Leave the box overnight after filling the liquid rubber. Different types of rubber material take different times to set, but the average curing time for most silicones is 18-24 hours, while most Smooth-On molds claim the cure time to be 6 hours. It all depends on if there are fast-acting catalysts are present, so it's better to read the directions that come with your mold.
If you are not sure that how long you should wait for the rubber to set, to be safe, let it stay overnight.
Step 4 Remove the object from the mold.
After you've let the mold sit for a sufficient amount of time, it should be strong and ready to be taken out. This will be very easy if you have applied a releasing agent to the object. Cut away the box with scissors or a razor blade, but be cautious and don't damage the mold. Peel away the edges of the mold from the container gently. Since you made a wide base for your object, you'll be able to remove it from the rubber mold easily. The final mold you'll get will be firm, tear-resistant and exhibit a low long-term shrinkage.
If any part of the mold does not seem solid or dry enough, replace the container and cure it for some more time.
Conclusion
We hope that this guide will help you make rubber molds easily. Follow the instructions discussed above and enjoy mold-making at home.
Recent Post
- Custom Silicone Rubber Molding Protective Cover for Many Devices
- Custom ISO 10993 Medical Grade Silicone Parts For Health Care & Medical Applications
- Types of Rubber Moulding
- How to Make a Mold for Rubber Part?
- What is Food Grade Silicone and Why is it Better Than Plastic?
- How to Find a Reliable Silicone Beads Manufacturer?
